Are you looking to unlock the full potential of your Raspberry Pi by using RemoteIoT behind a router? This guide dives deep into the process, ensuring you can access and manage your device remotely with ease. RemoteIoT is a powerful tool that allows you to monitor, control, and interact with your Raspberry Pi from anywhere in the world. Whether you're a hobbyist, developer, or professional, understanding how to use RemoteIoT behind a router with Raspberry Pi is essential for maximizing your project's efficiency and functionality.
Setting up RemoteIoT behind a router may seem challenging at first, but with the right steps, it becomes a seamless process. The key lies in configuring your network settings correctly and ensuring your Raspberry Pi is properly connected to the internet. By following this guide, you'll learn how to overcome common obstacles like NAT (Network Address Translation) and firewall restrictions, enabling you to establish a reliable connection. This ensures your Raspberry Pi remains accessible even when tucked away behind a router in your home or office network.
As more users turn to Raspberry Pi for IoT projects, the demand for remote access solutions like RemoteIoT continues to grow. This article is crafted to provide clear, actionable steps for beginners and advanced users alike. From setting up port forwarding to troubleshooting connectivity issues, we’ll cover everything you need to know about how to use RemoteIoT behind a router Raspberry Pi. Let’s dive into the details and explore how you can make the most of this powerful combination.
Table of Contents
- What is RemoteIoT and Why Use It with Raspberry Pi?
- How to Set Up RemoteIoT Behind a Router?
- Why Does Port Forwarding Matter for RemoteIoT?
- Step-by-Step Guide to Configuring Your Router for RemoteIoT
- Common Issues When Using RemoteIoT Behind a Router?
- How to Troubleshoot RemoteIoT Connectivity Problems?
- Is DDNS Necessary for RemoteIoT on Raspberry Pi?
- How to Secure Your RemoteIoT Connection?
- Benefits of Using RemoteIoT Behind a Router
- Final Thoughts on RemoteIoT and Raspberry Pi
What is RemoteIoT and Why Use It with Raspberry Pi?
RemoteIoT is a cloud-based platform designed to provide seamless remote access to IoT devices like the Raspberry Pi. It simplifies the process of connecting to your device, regardless of its location. For Raspberry Pi enthusiasts, RemoteIoT offers an easy way to manage projects, monitor sensors, and control applications from anywhere. This flexibility is especially valuable for users who need to access their devices remotely but don’t want to deal with complex networking configurations.
One of the standout features of RemoteIoT is its ability to bypass NAT and firewall restrictions, which are common barriers when trying to connect to devices behind a router. By leveraging RemoteIoT, you can ensure that your Raspberry Pi remains accessible even in restrictive network environments. This makes it an ideal solution for users who want to explore how to use RemoteIoT behind a router Raspberry Pi without spending hours troubleshooting network settings.
How to Set Up RemoteIoT Behind a Router?
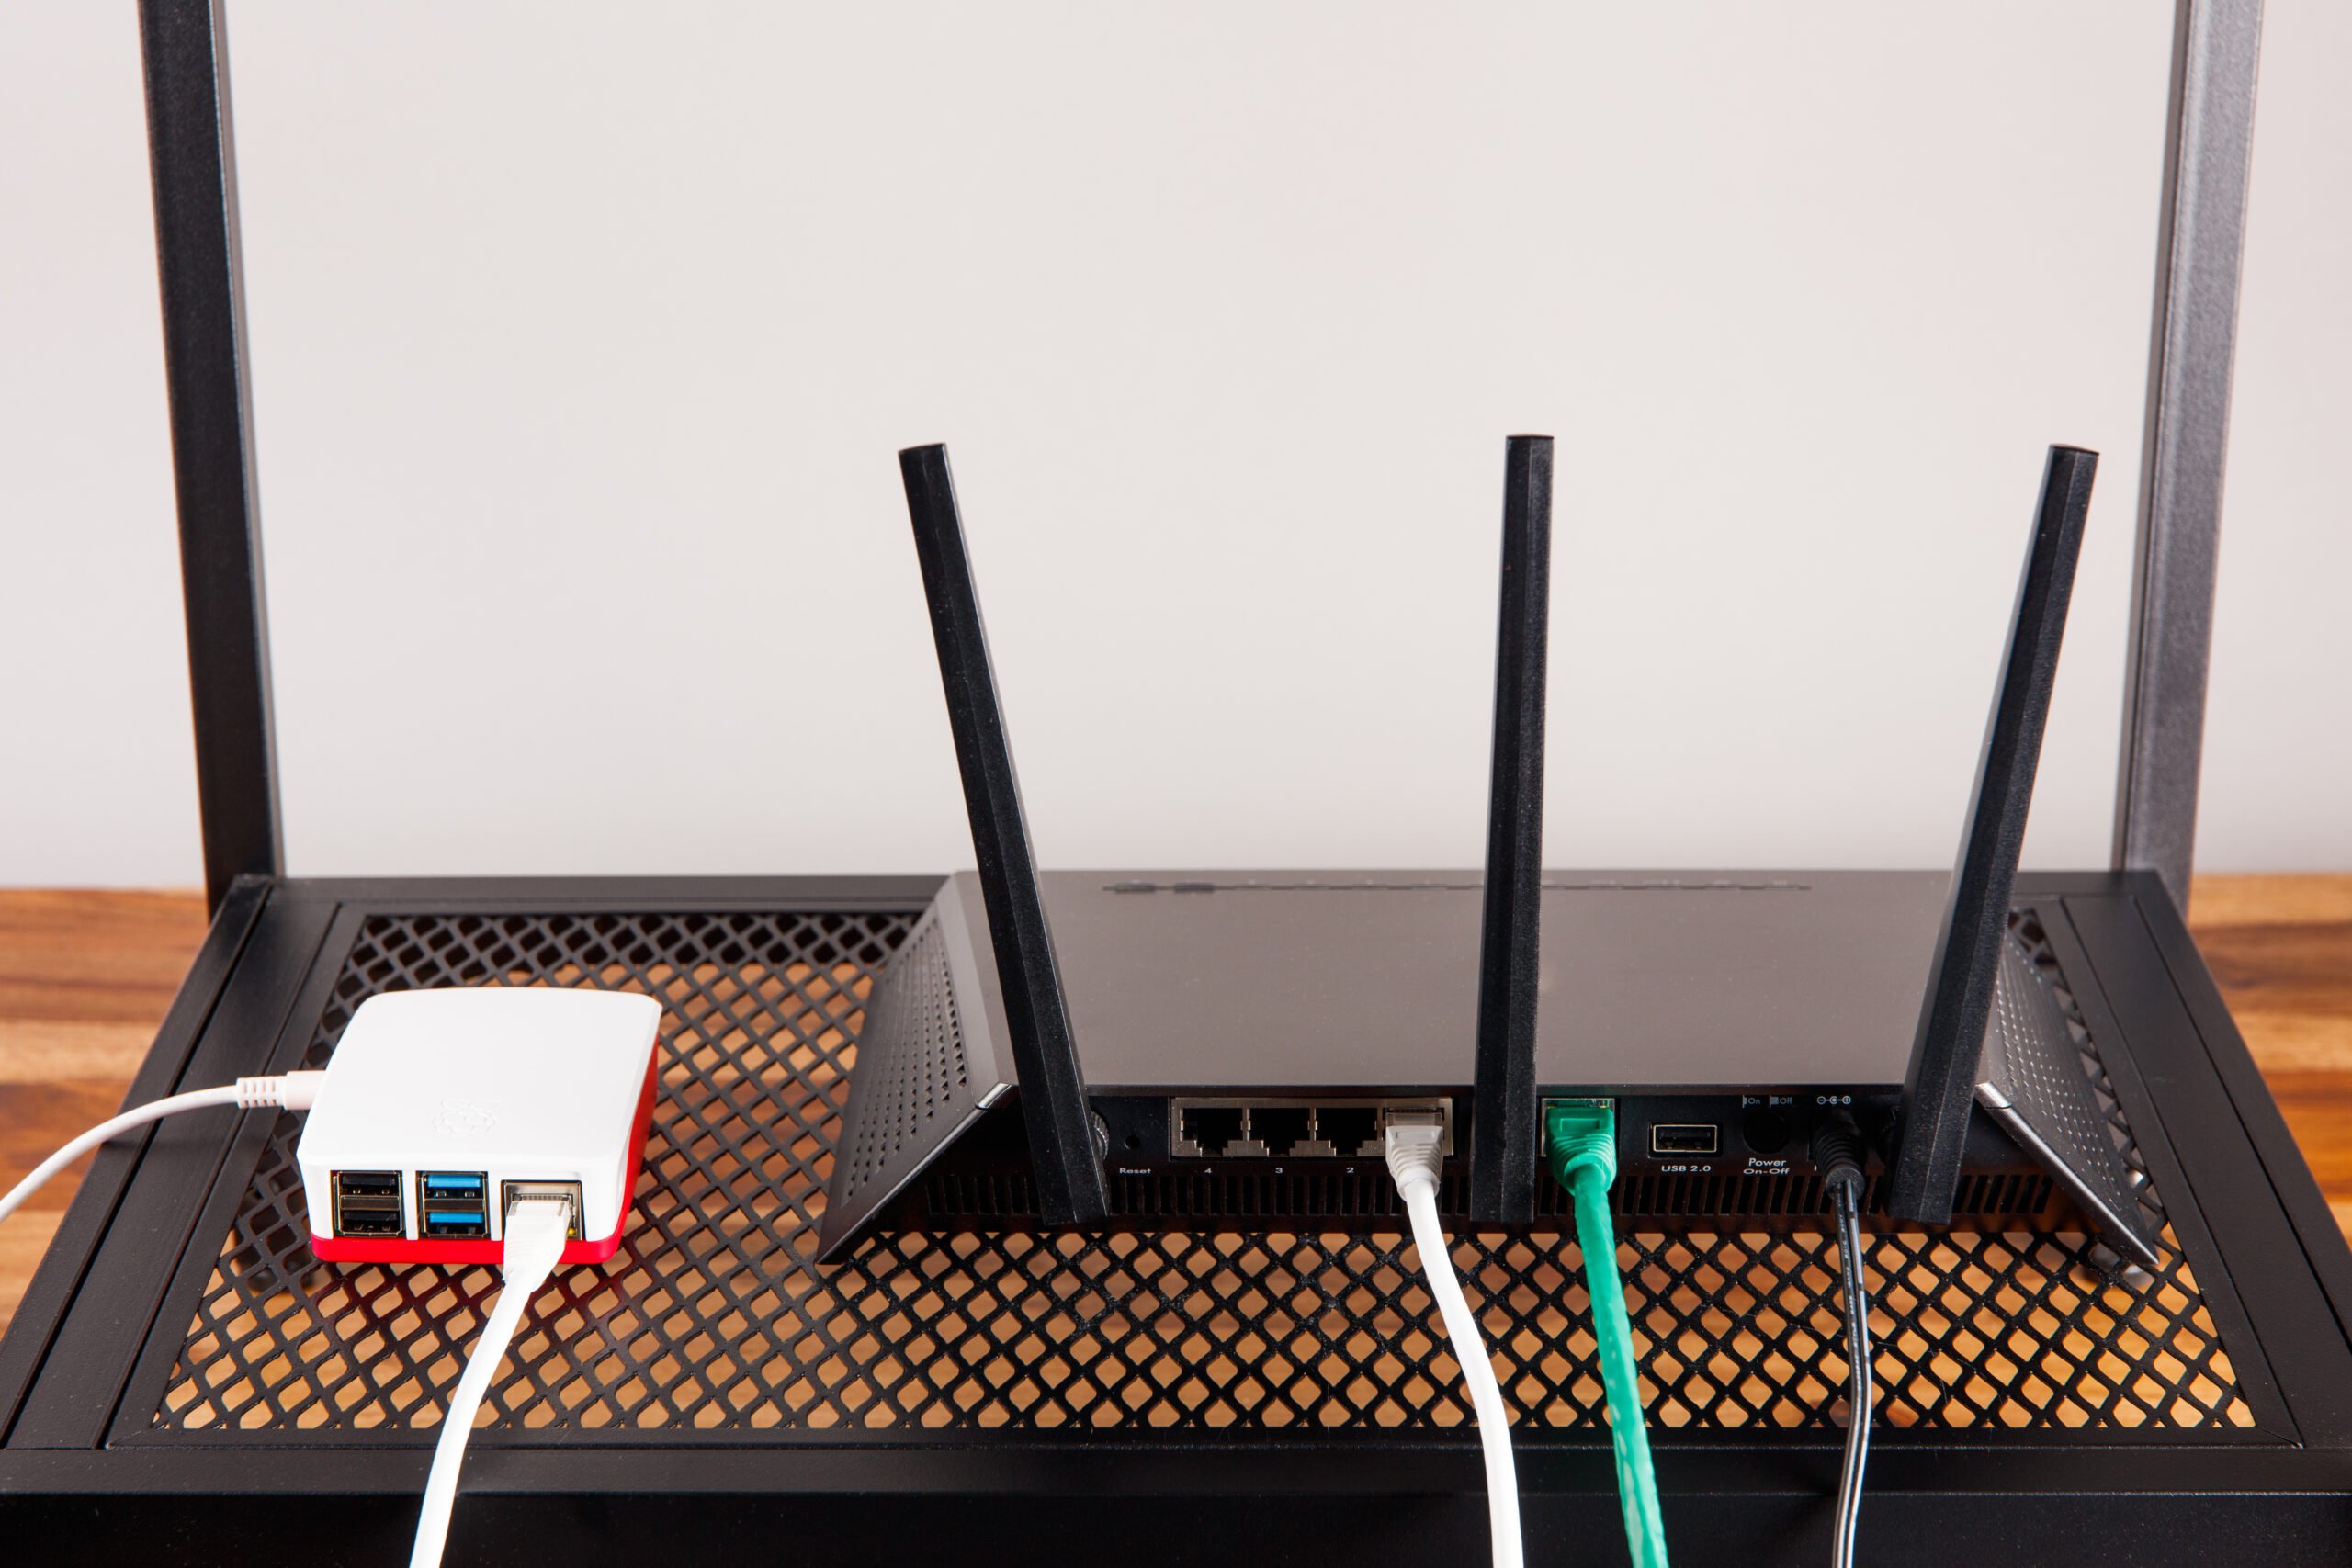
Setting up RemoteIoT behind a router involves a series of steps that ensure your Raspberry Pi is properly connected and accessible. The first step is to configure your router to allow external access to your Raspberry Pi. This typically involves setting up port forwarding, which directs incoming traffic to the correct device on your network. By doing so, you create a pathway for RemoteIoT to communicate with your Raspberry Pi.
To get started, you’ll need to log into your router’s admin panel and locate the port forwarding settings. Assign a specific port to your Raspberry Pi’s local IP address, ensuring that all incoming traffic on that port is routed to your device. Once this is done, you can proceed to configure RemoteIoT on your Raspberry Pi. This setup ensures that you can use RemoteIoT behind a router Raspberry Pi without interruptions.
Why Does Port Forwarding Matter for RemoteIoT?
Port forwarding is a critical component of using RemoteIoT behind a router. Without it, your router won’t know which device on your network should receive incoming data from RemoteIoT. This can result in failed connections and inaccessible devices. By configuring port forwarding, you’re essentially telling your router to direct specific traffic to your Raspberry Pi, ensuring that RemoteIoT can establish a stable connection.
While port forwarding may seem technical, most modern routers provide user-friendly interfaces that simplify the process. If you’re unsure about how to set it up, consult your router’s manual or online documentation. Understanding how to use RemoteIoT behind a router Raspberry Pi requires a basic grasp of port forwarding, as it forms the foundation of remote access.
Step-by-Step Guide to Configuring Your Router for RemoteIoT
Configuring your router for RemoteIoT involves several key steps. Follow this guide to ensure your Raspberry Pi is ready for remote access:
- Access your router’s admin panel by entering its IP address in a web browser.
- Locate the port forwarding section, often found under advanced settings.
- Create a new port forwarding rule, assigning a unique port number to your Raspberry Pi’s local IP address.
- Save the settings and restart your router to apply the changes.
- Test the connection by attempting to access your Raspberry Pi remotely using RemoteIoT.
By following these steps, you’ll be well on your way to mastering how to use RemoteIoT behind a router Raspberry Pi.
Common Issues When Using RemoteIoT Behind a Router?
While setting up RemoteIoT behind a router is straightforward, users may encounter a few common issues. One frequent problem is incorrect port forwarding configurations, which can prevent RemoteIoT from accessing your Raspberry Pi. Another issue is dynamic IP addresses, which can change periodically and disrupt your connection. To address this, consider using a Dynamic DNS (DDNS) service.
Additionally, some users may face firewall restrictions that block incoming traffic. To resolve this, ensure that your router’s firewall settings allow traffic on the specified port. Understanding these potential pitfalls will help you troubleshoot and resolve issues when learning how to use RemoteIoT behind a router Raspberry Pi.
How to Troubleshoot RemoteIoT Connectivity Problems?
If you’re experiencing connectivity issues with RemoteIoT, there are several troubleshooting steps you can take. Start by verifying that your Raspberry Pi is connected to the internet and that its local IP address hasn’t changed. Next, double-check your router’s port forwarding settings to ensure they’re configured correctly.
You can also use online tools like port checkers to confirm that your router is forwarding traffic as expected. If the issue persists, consult RemoteIoT’s support documentation or reach out to their customer service team. These steps will help you identify and resolve problems when figuring out how to use RemoteIoT behind a router Raspberry Pi.
Is DDNS Necessary for RemoteIoT on Raspberry Pi?
Dynamic DNS (DDNS) is not strictly necessary for using RemoteIoT behind a router, but it can be incredibly helpful. If your internet service provider assigns a dynamic IP address, your router’s public IP may change periodically. This can cause disruptions in your RemoteIoT connection. By using a DDNS service, you can assign a static hostname to your dynamic IP, ensuring uninterrupted access to your Raspberry Pi.
Popular DDNS providers include No-IP, Dynu, and DuckDNS. Setting up DDNS is a simple process that involves creating an account, configuring your router, and linking it to your DDNS hostname. This step is highly recommended for anyone looking to master how to use RemoteIoT behind a router Raspberry Pi.
How to Secure Your RemoteIoT Connection?
Securing your RemoteIoT connection is crucial to protect your Raspberry Pi from unauthorized access. Start by enabling encryption for your RemoteIoT sessions, ensuring that all data transmitted between your device and the platform is encrypted. Additionally, use strong, unique passwords for both your Raspberry Pi and RemoteIoT account.
Another important step is to restrict access to your router’s admin panel by changing the default login credentials. You can also set up a firewall to block unauthorized traffic. By taking these precautions, you can confidently use RemoteIoT behind a router Raspberry Pi without compromising security.
Benefits of Using RemoteIoT Behind a Router
Using RemoteIoT behind a router offers numerous benefits for Raspberry Pi users. First and foremost, it provides unparalleled convenience by allowing you to access your device from anywhere in the world. Whether you’re monitoring sensors, running scripts, or managing applications, RemoteIoT ensures that your Raspberry Pi is always within reach.
Additionally, RemoteIoT simplifies the process of setting up remote access, eliminating the need for complex networking configurations. This makes it an ideal solution for beginners and professionals alike. By mastering how to use RemoteIoT behind a router Raspberry Pi, you can unlock the full potential of your IoT projects.
Final Thoughts on RemoteIoT and Raspberry Pi
In conclusion, RemoteIoT is a powerful tool for anyone looking to access their Raspberry Pi remotely. By understanding how to use RemoteIoT behind a router Raspberry Pi, you can overcome common networking challenges and enjoy seamless connectivity. Whether you’re a hobbyist or a professional, this guide provides the knowledge and tools you need to succeed.
Remember to follow best practices for security, configure your router correctly, and troubleshoot any issues that arise. With RemoteIoT and Raspberry Pi, the possibilities are endless. Start exploring today and discover the incredible potential of remote IoT management!
Article Recommendations